Download the PDF template (dollhouse.pdf)
I absolutely love dolls and dollhouses. I was so excited to find a tutorial on THIS BLOG that showed how to make a small fabric dollhouse. I adapted the pattern to make it work for a house made out of paper. I am pretty happy with the results! I’m not finished yet…now I have to make the people and the furniture. Oh, what fun!
Supplies:
Light-weight cardboard (I used the cardboard that comes with Designer Series Paper)
Mod Podge
Decorative Paper
Paper cutter with a scoring blade
Embellishments
Sticky-back magnets
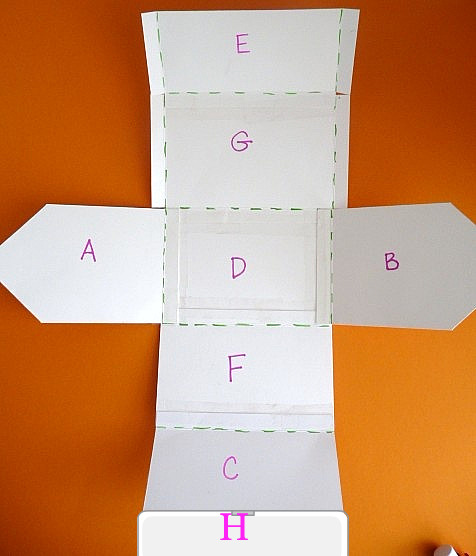
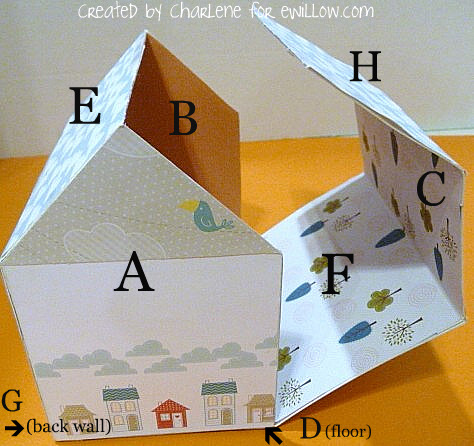
First, cut and score the light-weight cardboard and lay out the pieces like this:
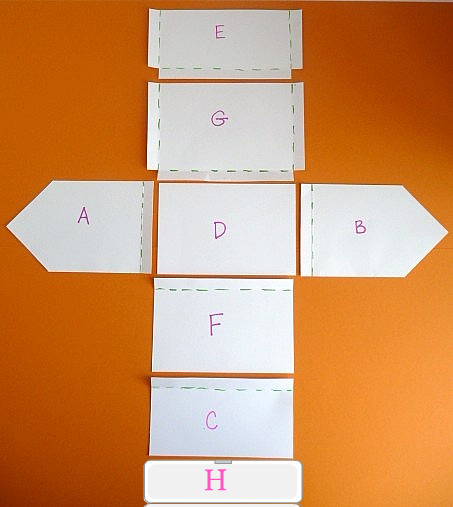
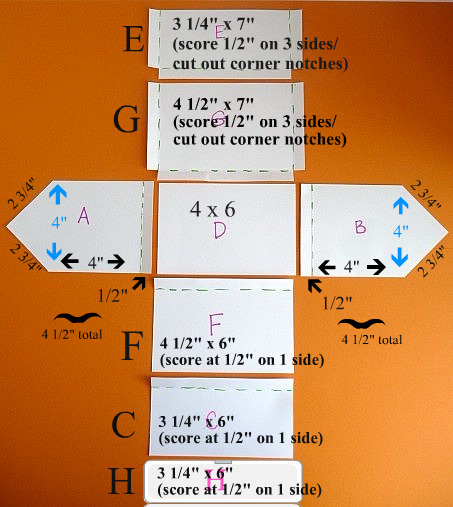
Here are the pieces with the measurements marked. (Don’t panic! Just print the template and trace.)
Second, use Mod Podge to attach the pieces together like shown. Make sure all of the scored edges end up on the inside of the house.
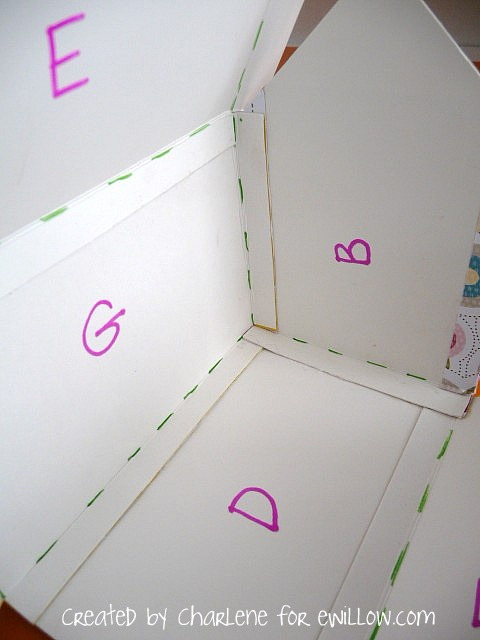
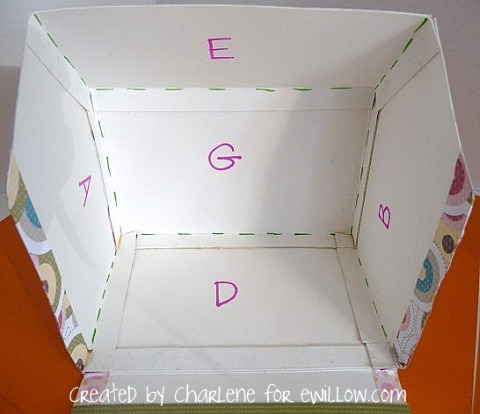
(ignore the decorative paper that you see. this house was an experiment)
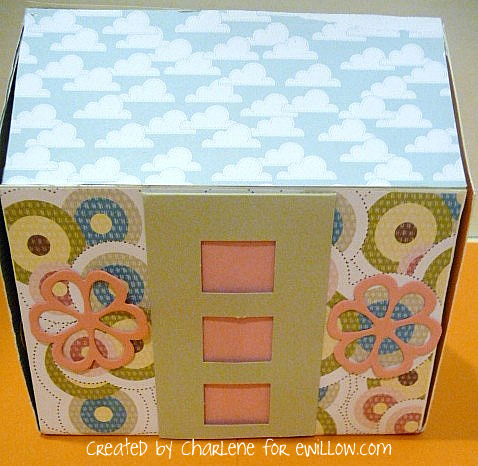
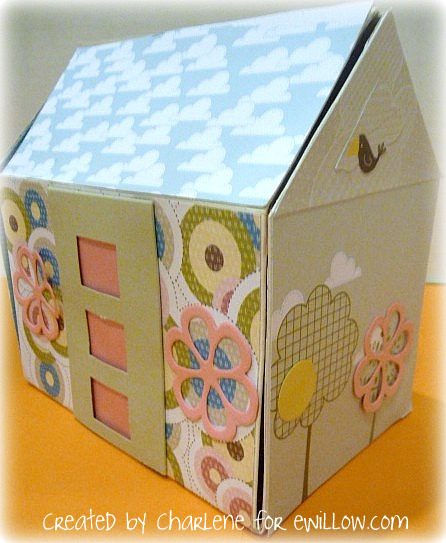
Third, is the fun part! Cover the inside and outside of the house with decorative paper.
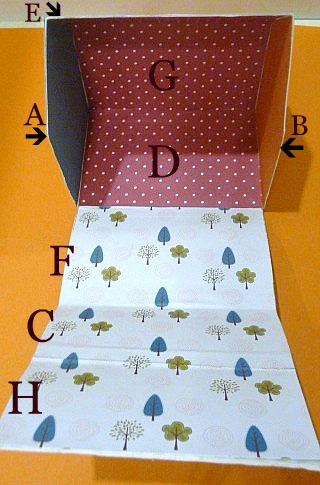
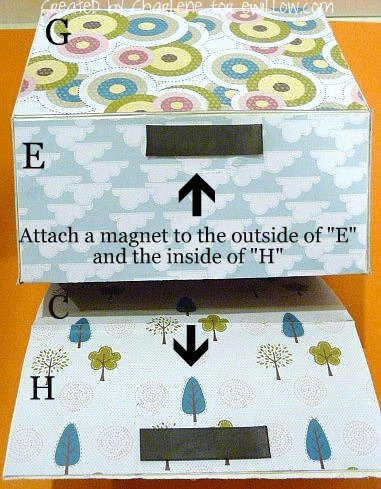
Fourth, attach two sticky-back magnets, as shown above.