
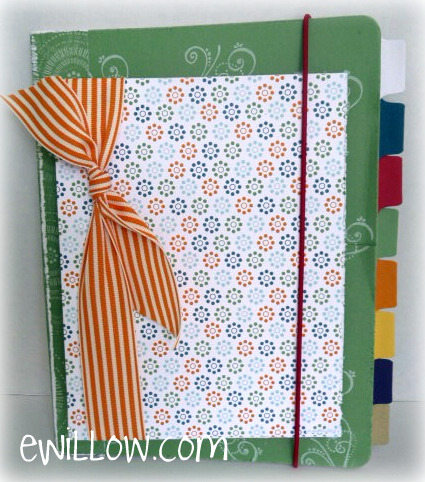
Here is the tutorial to make this multi-functional composition book with attached file-folder.
Supplies:
Regular-size composition book
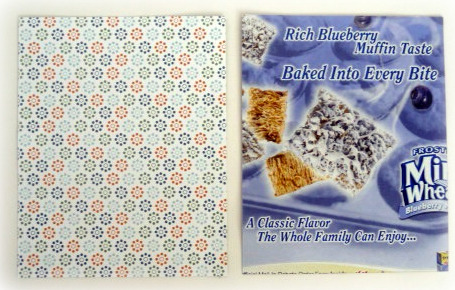
Empty cereal box
Eight envelopes, approximately 5″ x 7″ (but not larger)
Stamp set and permanent ink
12 x 12 card stock, 12 x 12 decorative cardstock, and several pieces of scraps
Tab punch
Corner-rounder punch
Crop-a-Dial
Paper cutter
Glue
Ribbon
Tutorial:
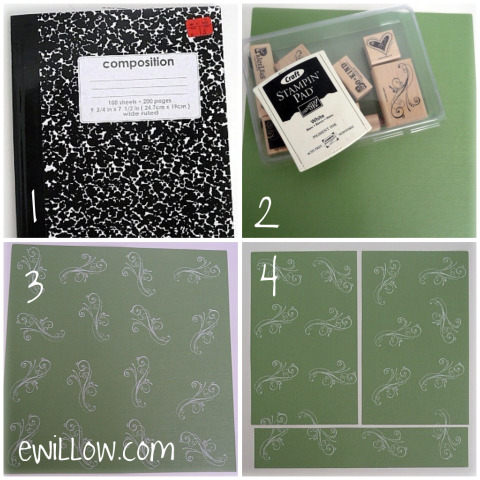
1) grab the composition book
2 & 3) stamp a fun stamp in permanent ink on 12 x 12 paper
4) cut 12 x 12 paper at 9 3/4″, then cut the remaining piece at 6″, so you will end up with two pieces that are 6″ x 9 3/4″, and one piece that is 2 1/4″ x 12 ”

5) corner-punch the top and bottom corners on one side only of both 6″ x 9 3/4″ pieces of cardstock, so they will fit nicely on the corners of the composition book
6) glue each piece to the front and the back of the composition book, leaving the binding uncovered
7) cut a piece of decorative cardstock 4″ x 9 3/4″
8) glue the 4″ x 9 3/4″ piece to the binding of the composition book by wrapping it around from front to back, as shown
THAT’S ALL FOR THE BOOK! NOW ON TO THE FILE FOLDER…
***********
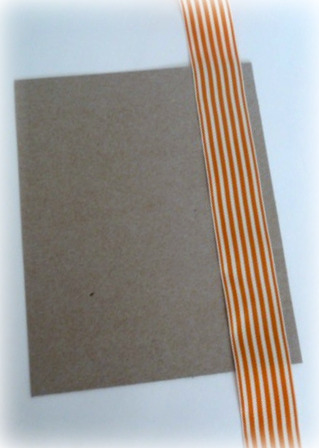
Cut one piece of decorative cardstock 6″ x 7 3/4″
Cut a piece out of the cereal box 6″ x 7 3/4″
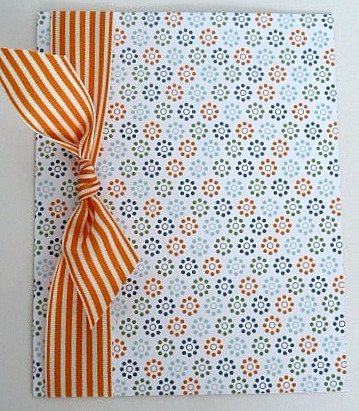
Glue the decorative cardstock to the decorated side of the cereal box
Cut a piece of ribbon 22″ long and attach to the backside of the cereal box
Tie a nice bow
NOW YOU’RE DONE WITH THE FILE FOLDER COVER…LET’S MOVE ON TO THE FILE FOLDER…
**********
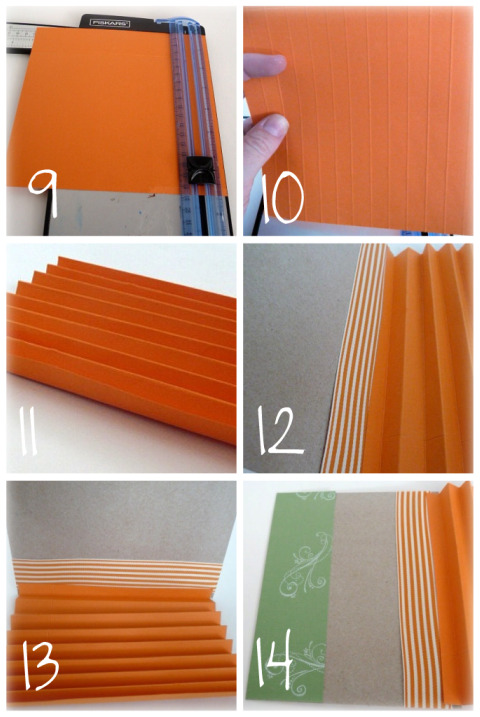
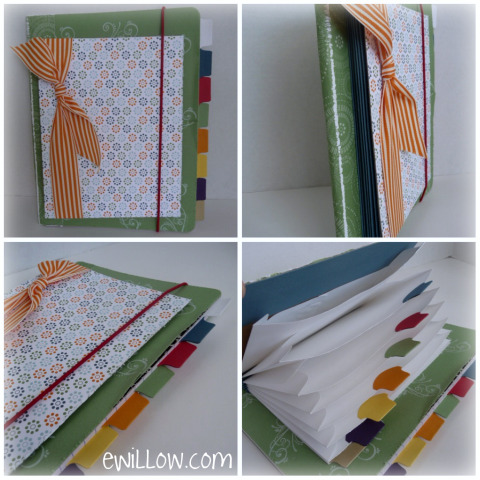
9) cut a piece of cardstock 7 3/8″ x 8″
10) on the 8″ side, make a score line at every 1/2″
11) fan-fold the cardstock, folding the first fold “UP”
12) glue the fan-folded cardstock to the inside edge of the file folder cover, making sure to glue the “UP” piece to the cover
13) another view
14) cut the remaining 2 1/4″ x 12″ stamped piece of cardstock to 2 1/4″ x 7 3/4″ and glue it to the top inside edge of the cereal box, as shown
NOW LET’S MOVE ON TO THE ENVELOPES AND TABS…
**********
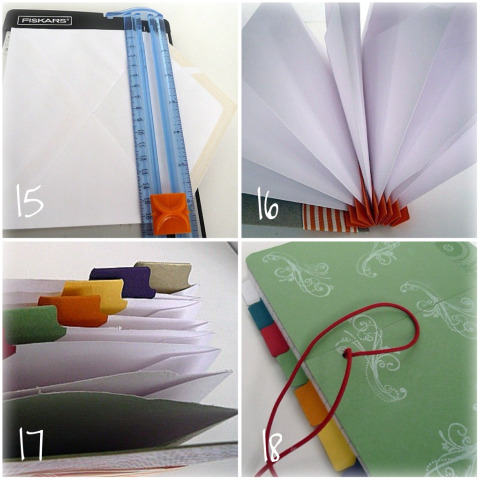
15) cut the tops off of the envelopes
16) glue each envelope into the “valley” of the fan-folded cardstock
17) punch and attach the tabs, then glue the final envelope directly to the cover of the composition book
18) attach tabs to the pages of the composition book and add an elastic tie