Click HERE for Part I
Click HERE for Part II
Click HERE for Part III
Click HERE for the matchbox template
Click HERE to order supplies
Send an email to info@ewillow.com to order pre-made boxes
_____________________________
Now that your boxes are finished, it’s time to display them. There are several different options, depending on how much space you have.
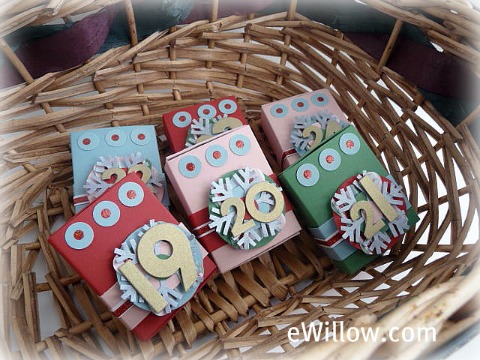
If your space is limited, you can pile all of the boxes neatly into a pretty Christmas basket and choose a box each day:
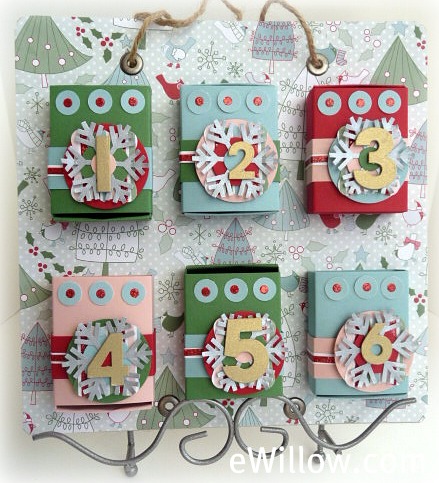
Today I am going to show you how to mount your boxes onto “frames.” If you don’t have enough wall space to hang the finished frames, you can stand each frame on a plate stand and display them on a shelf:
____________________________________
SUPPLIES:
Mod Podge
Candy Cane Christmas Specialty Designer Series Paper (#120809)
3/16″ corner rounder (#119871)
Crop-a-Dial (#108362)
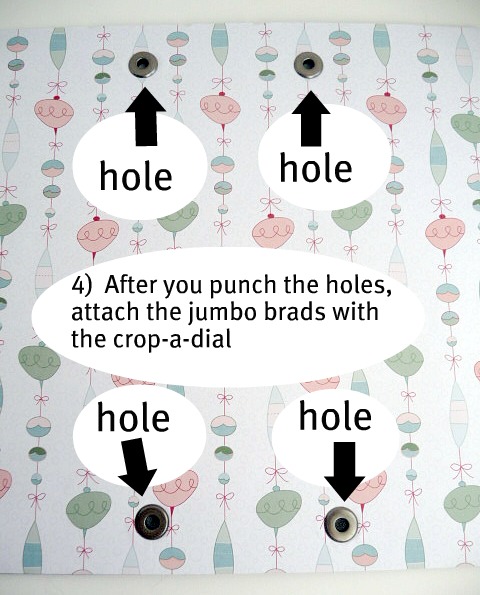
Pewter Jumbo Eyelets (#108432)
4 pieces of 9-1/2″ x 9-1/2″ (or similar) chipboard, heavy-duty cardboard, or artist’s canvases
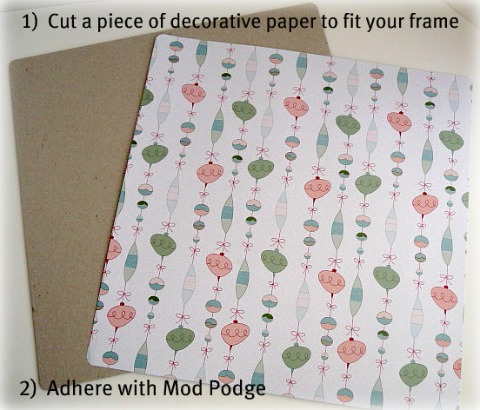
Steps 1 and 2:
Cut a piece of decorative paper to fit your frame and adhere paper to frame with Mod Podge
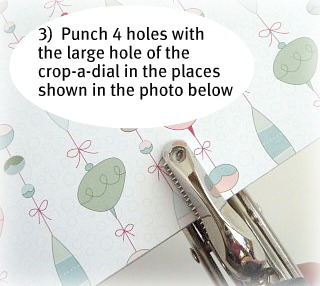
Finally, attach the boxes to the frame with Mod Podge. Be sure there is enough space between the rows so there is enough room to slide open the boxes.
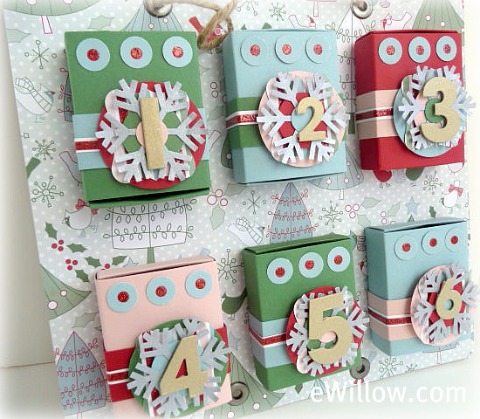
Tomorrow we’ll turn the individual frames into one wall hanging. See you then!
