Stationery for the Faux Suede Box

      Comments Off on Stationery for the Faux Suede Box

(You can find the tutorial for the faux suede box HERE.)

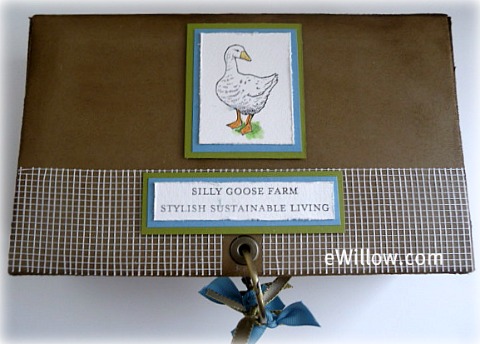
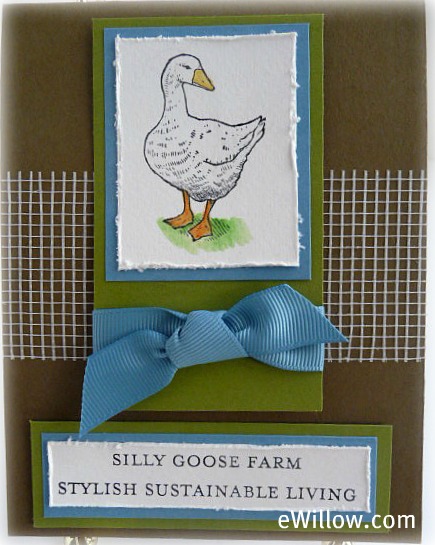
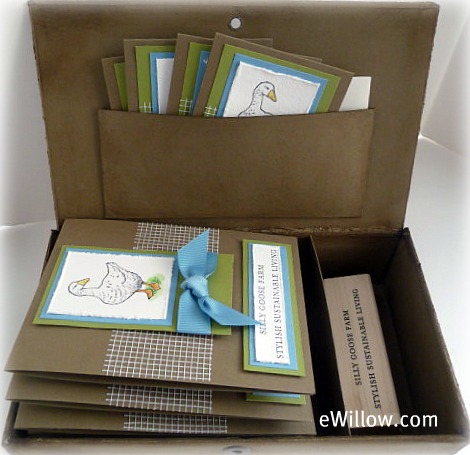
Now that you’ve made the stationery box, you need to fill it!  The box makes a great gift.  Not only will your friends love this, but teachers will love it, too.  The box and cards that I made are for my friends Deanna and Dave of The Silly Goose Farm.

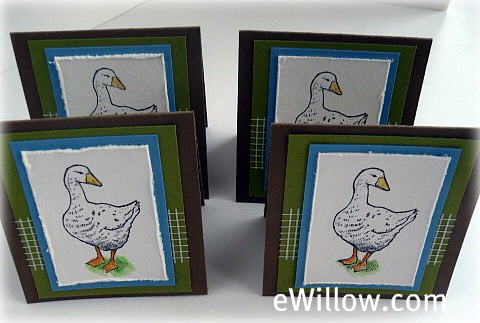
The above photo shows four 3 x 3 notecards that fit nicely into the pocket envelope on the inside lid of the box.  The bottom photo shows the 4-1/4″ x 5-1/2″ notecards that fit into the box.

For a nice touch, make sure you always stamp the envelopes with a coordinating image.

See the space on the right side of the photo?  That’s a fun space where you can put tags, pens, or postage stamps.  I decided to have a personalized rubber stamp made and send it along with the notecards.  (Come back tomorrow for info on the personalized rubber stamp and how you can order one.  They’re great!)

Faux Suede Stationery Box Tutorial

      Comments Off on Faux Suede Stationery Box Tutorial

Below is a tutorial on how you can turn an ordinary box into a really cool faux suede box that you can use to hold handmade stationery.  This is a multi-step project, so today I’ll show you how to make the box.  Coming up I’ll show you how to make the contents of the box. 
Supplies Needed to Make the Box:

Purchased Cardboard Box

Mod Podge

Paper Cutter with Scoring Blade 

Scissors 

Sanding Block

Stampin’ Up! Soft Suede Card Stock 

Stampin’ Up! Soft Suede Classic Ink Pad 

Stampin’ Up! Soft Suede Classic Ink Refill 

Stampin’ Sponge

Sticky Strip 

Crop-a-Dial 

Stampin’ Up! Jumbo Eyelets

PART ONE

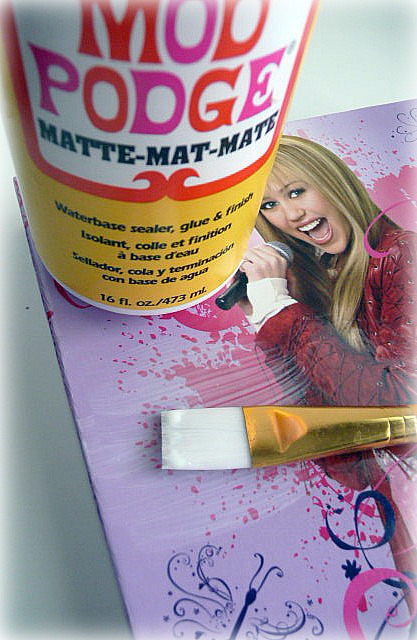
1)  Start with a cardboard box, any size, any kind.  I found this Hannah Montana box on clearance.


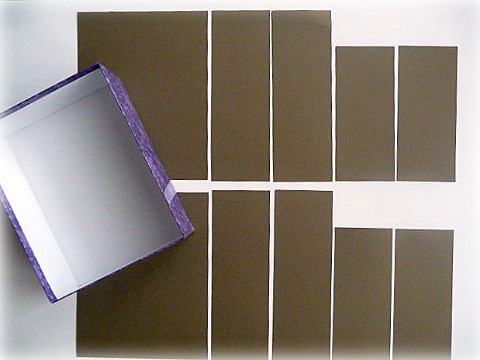
2)  Since you will all be using different sizes and types of boxes, I’m not going to list any cutting and scoring measurements.  In the photos below, you will see that you need to measure the lid, inside, outside, and the bottom of your box.  You will then need to cut pieces of cardstock to fit each section.
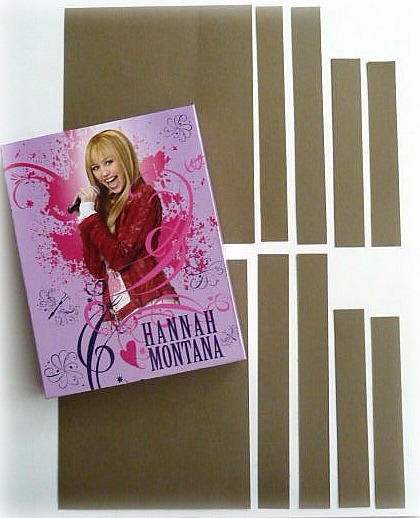
3)  Paint a thin layer of Mod Podge over each section of the box and attach each piece of cardstock to its corresponding section on the box.
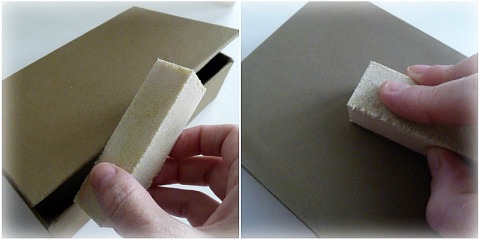
4)  Rub the sanding block all over the Stampin’ Up! Soft Suede cardstock.  The sanding technique will break the fibers of the paper and give the paper the appearance of suede.
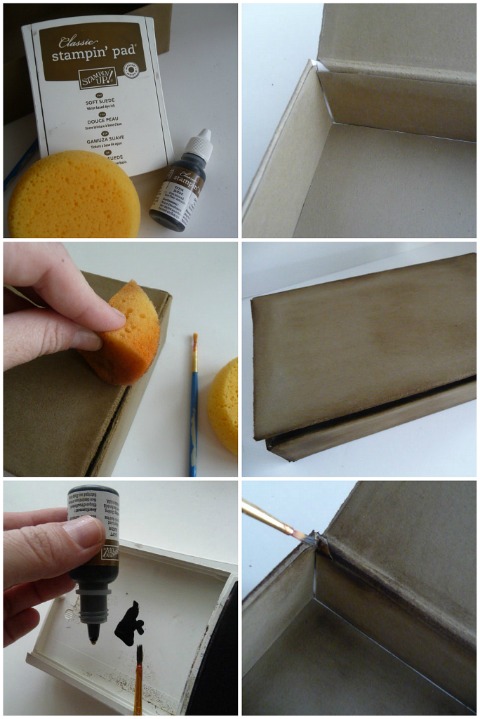
5)  You’ll probably have a lot of “boo-boos” on your box.  You know what I mean…spaces where the paper didn’t meet up exactly, creating areas of the box that aren’t covered with paper.  Don’t worry!  Grab your ink, ink refill, and sponge, and get busy covering-up those spaces with ink.
PART TWO

Okay, take a deep breath!  We’re almost done!  Now we are going to make the inside divider piece and the pocket envelope on the inside of the lid.
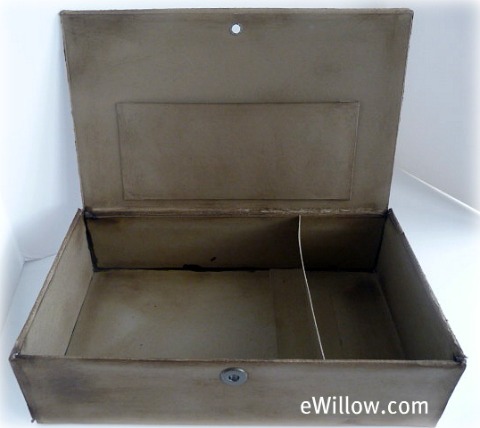
Once again, since you will all be using different boxes of different sizes, I will just guide you in these steps without giving you exact measurements.

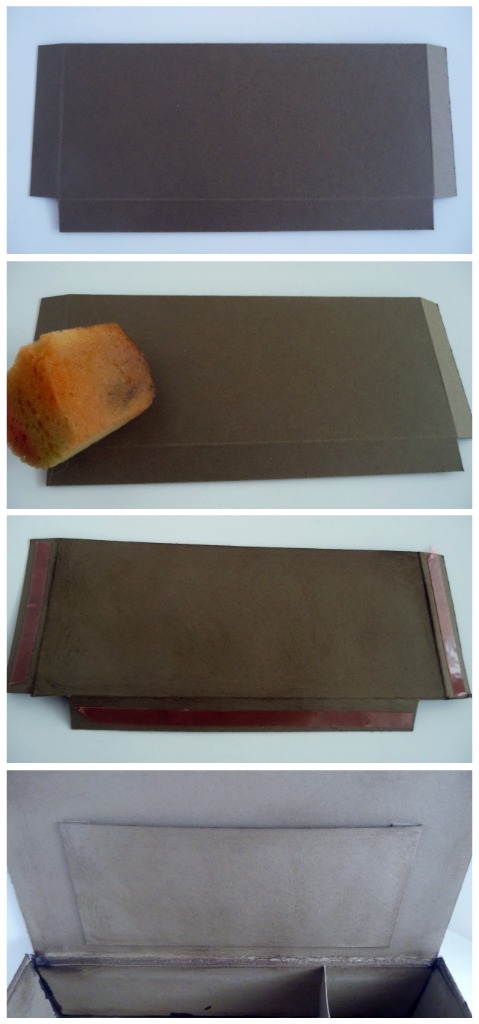
1)  To make the pocket envelope, cut a piece of cardstock to a size that will fit on the inside of your box lid, making sure to leave an extra 1/2″ on three sides.  Score at 1/2″ on three sides and cut out the bottom corners.  Sponge cardstock with ink.  Add sticky strip to the three scored sides.  Adhere to the inside of the box lid.
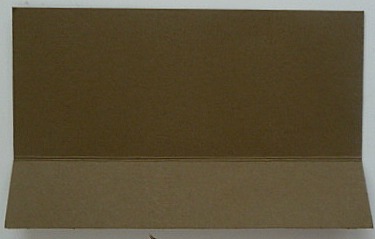
2)  To make the divider that goes inside the box, cut a piece of cardstock the length of the box and  1″ more than the depth of the box.  Score the cardstock at 1-1/8″ along the length of the cardstock.
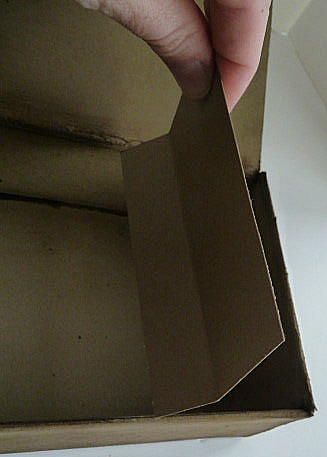
3)  Add Mod Podge along the scored edge and place the divider in the box.
PART THREE

Now let’s add the eyelets.

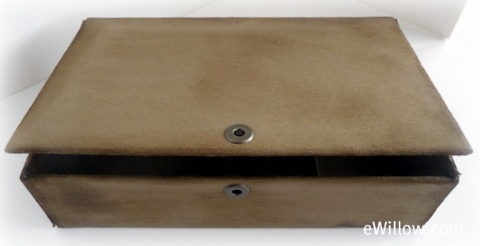
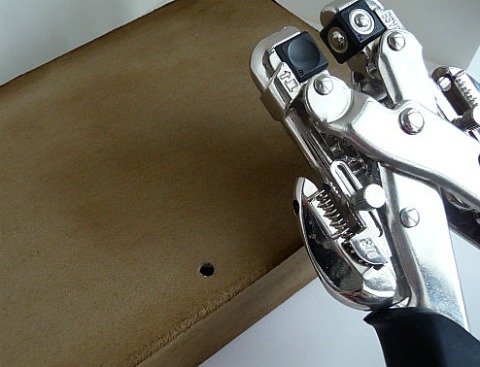
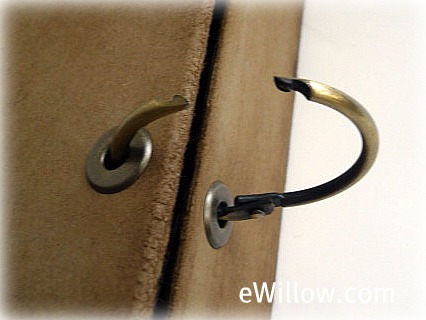
1) To add the eyelets, punch a hole in the top of the box and the bottom of the box with the Crop-a-Dial and add eyelets.  The placement of the eyelets depends on the box you use.  Here are photos for you to reference.
 

My box lid didn’t close completely, so I wanted to make sure I made a strong clasp.  I didn’t want it to open and have all of the contents spill.

I used a hinged jump-ring that opens and closes easily.
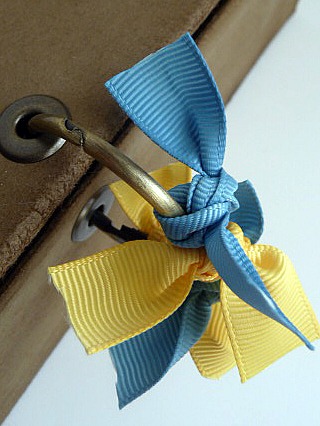
Add some fun ribbon, too.
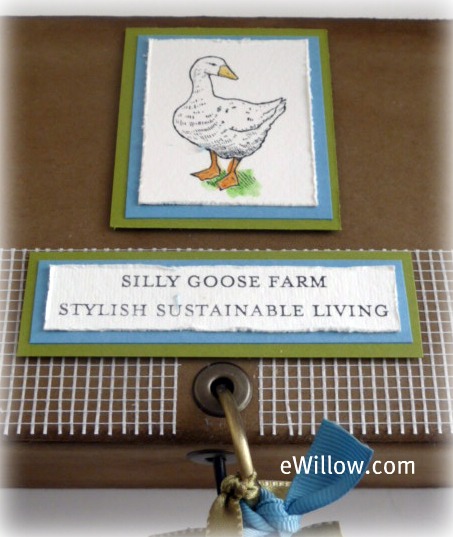
Decorate the lid.  You’re done!  Woo hoo!  You did it!

When Life Came & Smacked Me in the Head

      Comments Off on When Life Came & Smacked Me in the Head

I finally forced myself to re-enter the danger zone that is aka my craft room.  This is just one of the many piles of stuff that needed to be sorted.  (Just wait until you see what I have planned for that Hannah Montana box.  Ultra-cool project coming…)

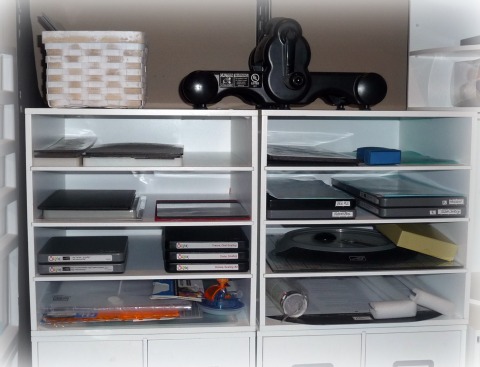
It wasn’t all bad, though.  I finally created a Sizzix die-cut station.

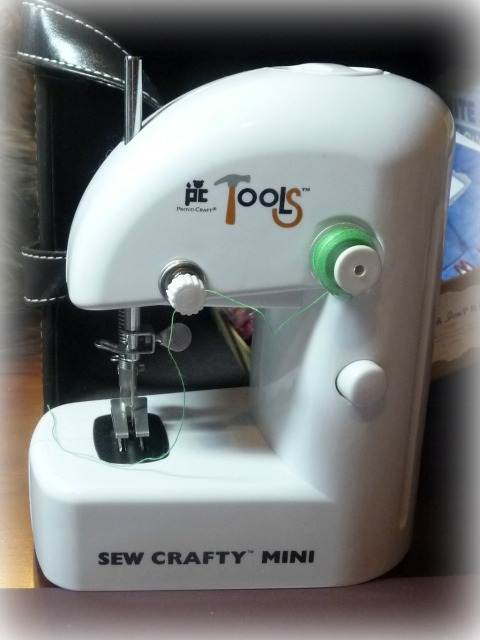
And I created a paper sewing station, too.  (Just wait until you see what you can do when you combine a sewing machine with paper.  You’ll be addicted immediately.)  Isn’t this mini sewing machine adorable?

I finally got to the bottom of the pile.  Then this hit me in the face:

At the bottom of the pile(s) I saw the words “February 2011” glaring at me.  Yes, it has been that long since my desk was clean.  I haven’t been in the eWillow.com craft room since February.  February 2011 is a month and year that will always haunt me.  My gut ached and all of the emotion of that month came rushing back to me.  February 10, 2011 to be exact.  That’s the day my husband went for his first routine colonoscopy.  That’s the day he was diagnosed with colon cancer.  That’s the day life smacked me in the head.  That’s the day when all of the plans for eWillow.com were put on the back-burner.  That’s the day when all of our priorities aligned.  eWillow.com has taken a back-seat.  Doubling it’s size and debuting it’s web-based show will happen, but not right now.  Those things can wait.
I am slowly climbing back from being knocked down at the knees. My husband is undergoing chemo and will start radiation soon.  Our oldest daughter starts college at her dream school in two months.  Our baby will enter her sophomore year of high school with a perfect GPA.  As one of the characters in one of my favorite movies said, “Life finds a way…”  It certainly does.  And it has.  We were all smacked in the head, hit in the gut, and knocked down at the knees.  But we have gotten up, dusted ourselves off, and committed to fight.
And we will win.

Make a McDonald’s Apple Pie Box as a Gift Box: Template & Tutorial

      Comments Off on Make a McDonald’s Apple Pie Box as a Gift Box: Template & Tutorial

Mother’s Day is next weekend!  I still haven’t recovered from Christmas. 

I thought a McDonald’s baked apple pie box was the perfect size to hold a piece of jewelry, a candy bar, or those fun little coupons that elementary school kids make for their moms for Mother’s Day.

After I enjoyed a pie, ðŸ˜‰ I deconstructed the box to make a template.  You can get the template HERE.

After you cut and score the template, you should end up with this:

Next, close the box.  You can use sticky strip along the narrow pieces to help the box stay together.  You’ll definitely want to add sticky strip if you are using the box to hold something heavy, like say, a diamond necklace.  😉

Now that the box is made, you can embellish it any way you want to.  I decided to use this great flower pin that my friend Kim made.  Isn’t it cool? It’s made from empty aluminum lemonade can.  Kim used the Sizzix machine and die to make the flowers, and held them together with a brad.

Now take a look at the back.  Kim added a pin.  Nifty, huh?  The lucky recipient of this gift box can remove the pin and wear it on Mother’s Day.

To complete the box, just add some ribbon, attach the pin, and you’re done. 

How easy was that?!  Remember, you can get the template HERE.  You can purchase sticky strip HERE.

Have fun!

Make a Window Banner

      Comments Off on Make a Window Banner

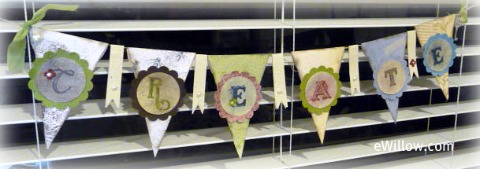
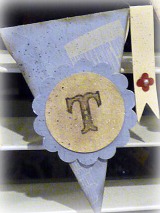
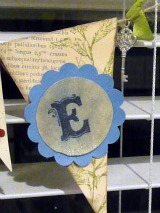
I made this banner at the Stampin’ Up! regional meeting in Orlando.  I knew immediately that I was going to hang it in my office.  It’s great because it isn’t very big.  You can make one, too.  You can spell out your child’s name and hang it in his or her room, or make one that says whatever inspires you.

I hung it on the wood blinds on the window in my office that overlooks the pool.  I remember when our kids were little, I insisted that I have a window in my office so that I could watch my girls and their friends from my desk while they were swimming.  Now my girls hardly ever go swimming…they are too busy being teenagers.  It kills me!