How to Organize Baking Supplies
If you guys have been following my stories on my Instagram account, you’ll know that once quarantine hit, an alien invaded my body and I began incessantly baking bread and cooking meals. What?? I know, it’s shocking.
As soon as I amassed all of the required baking ingredients like flour, sugar, bread flour, wheat flour, baking soda, and on and on … I realized very quickly that I needed to figure out a way to store and organize all of the baking supplies so they would be easily accessible. These are supplies that most kitchens already have, and I did have most of them; however, we have found ourselves in uncharted territory. so you had better believe that when the store says there is a limit of two for an item, I buy two. Hence the need to organize it all.
Our kitchen remodel came to a screeching halt when everything else did, so I’ve been a little limited on storage. Luckily, I came up with a great and very affordable way to organize baking supplies so they contribute to the decor and are very easy to get to.
How to Organize Baking Supplies
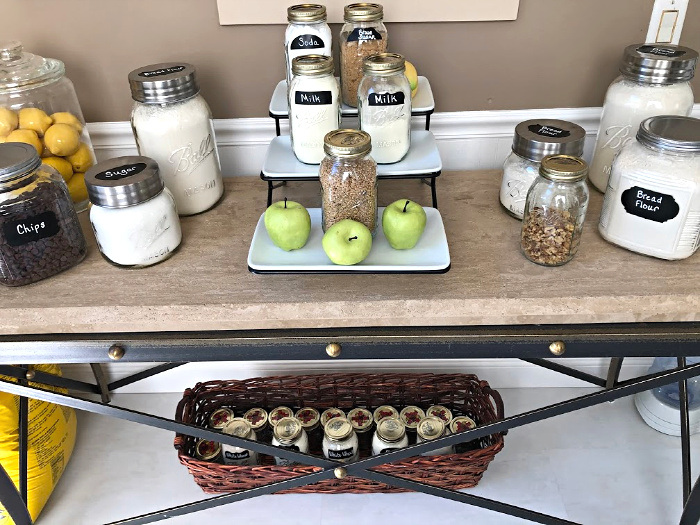
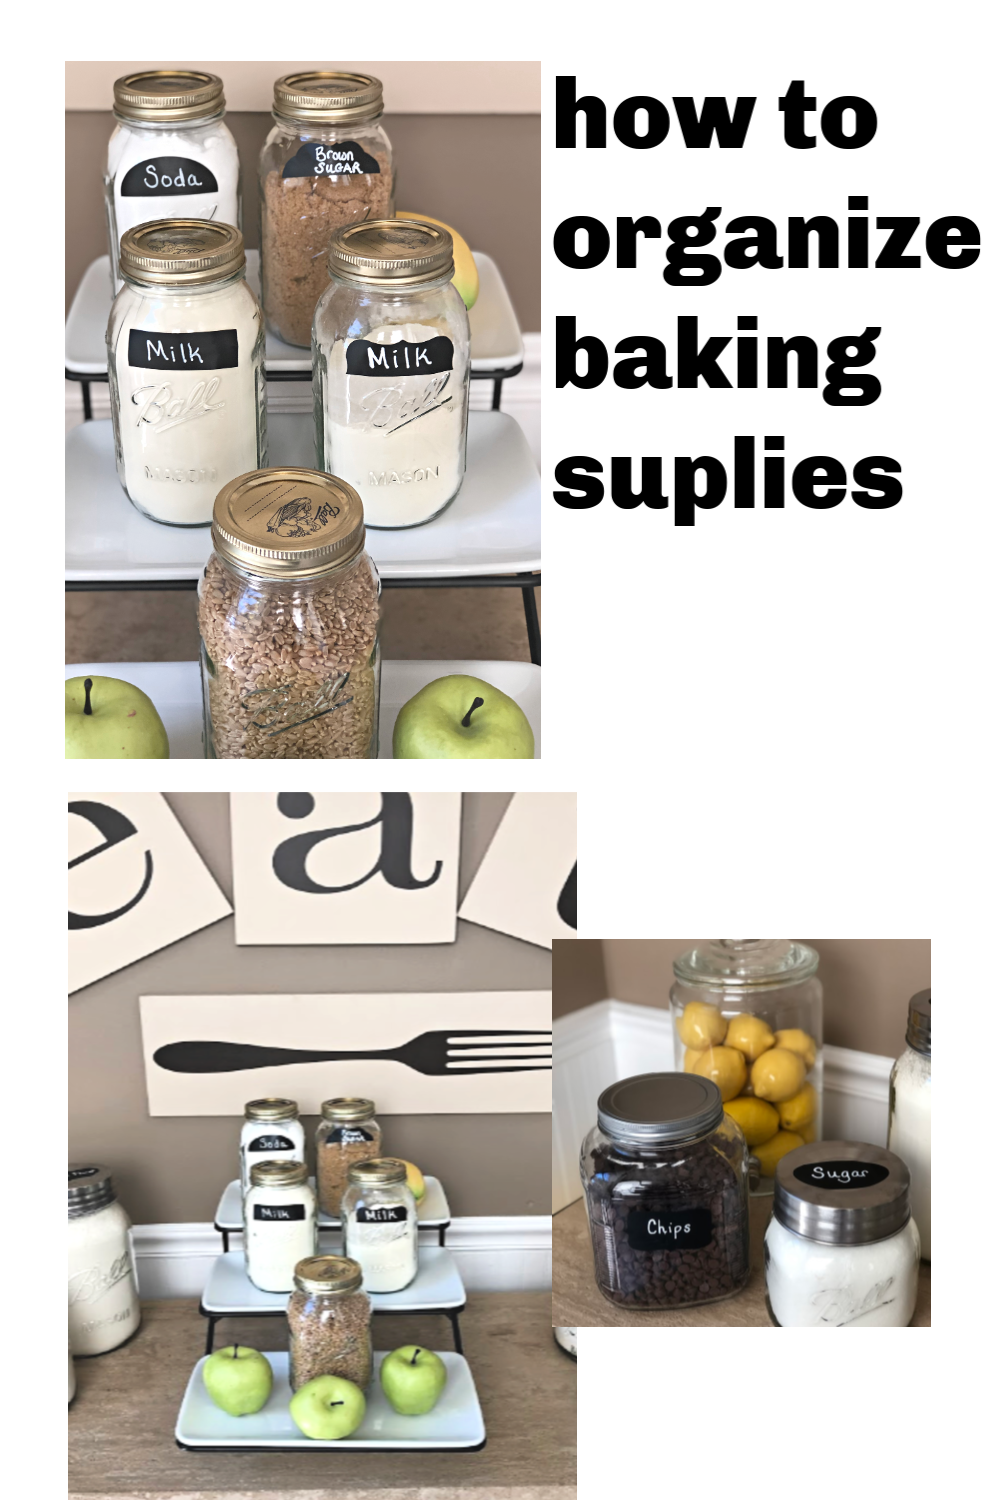
It’s pretty easy to organize baking supplies. You just buy glass jars, pour the ingredients into the jars, label the jars, and display the jars. That’s it. Seriously. Why leave all of those beautiful things in their bags, stuffed inside the kitchen cabinets, when you can display them like the continental breakfast station at a Marriott hotel?
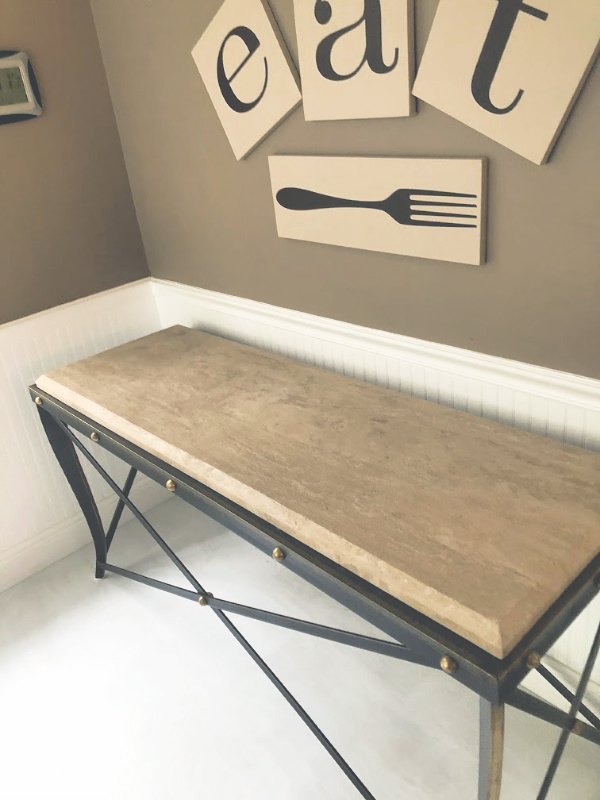
Luckily, our neighbors were getting rid of the this cool table and it fits perfectly along the wall in our breakfast nook. It’s soooo heavy and Neily Bear made me paranoid that it would damage our new vinyl floors with its weight. I was so afraid to put stuff on it, but he assured me that it would be okay since we put little plastic casters under the legs.
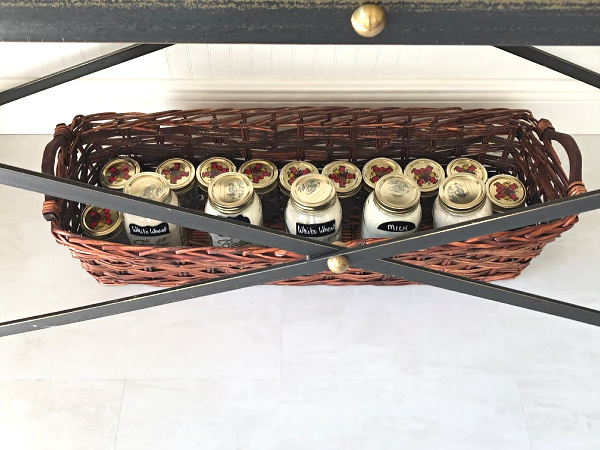
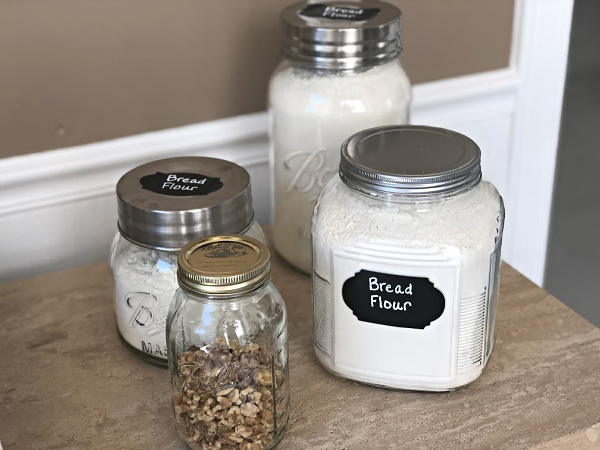
I purchased a 25 lb bag of bread flour at Sam’s club, and man, that’s a lot of flour. I also ground some of our food storage wheat and one number 10 can of wheat berries filled four regular-sized Mason jars with some wheat berries left over. That’s a lot of white powder to store.
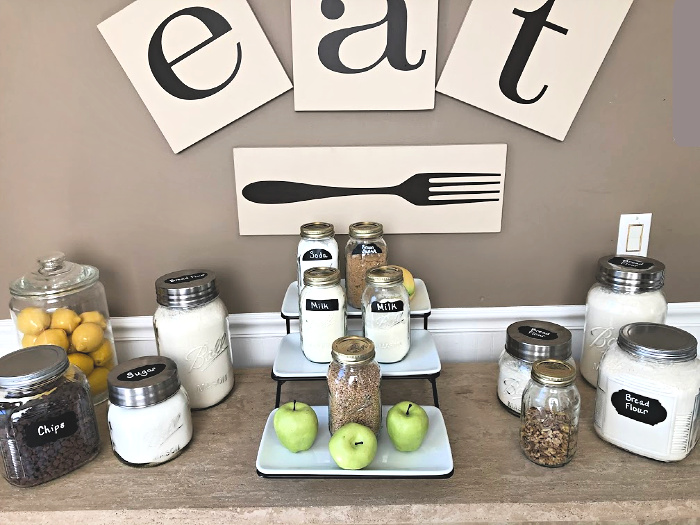
I put the extra jars in this fun basket that fits perfectly underneath the table. I had the three-tiered plate stand in the garage for several years. It was just sitting out there in its box. I think my parents gave it to us – they received it as a free gift for some kind of purchase they made. The plastic fruit really makes it look like the Marriott breakfast bar, no?
I put fake lemons in the lemonade jar to add some color. Of course every baking supply situation has to have the obligatory jar of chocolate chips. (Honestly, the Wal Mart “Market Pantry” brand of chips is way better than the Nestle brand.)
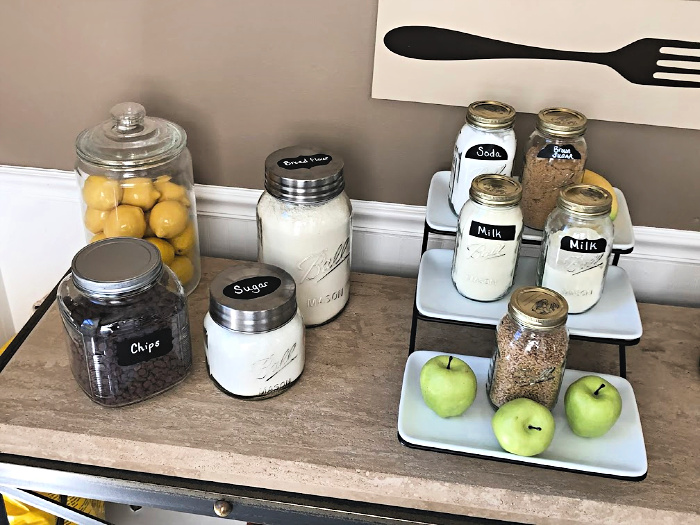
I’m obsessed with the jumbo-sized Ball jars! The lids pull off/push on. That’s a jar of walnuts in the front.
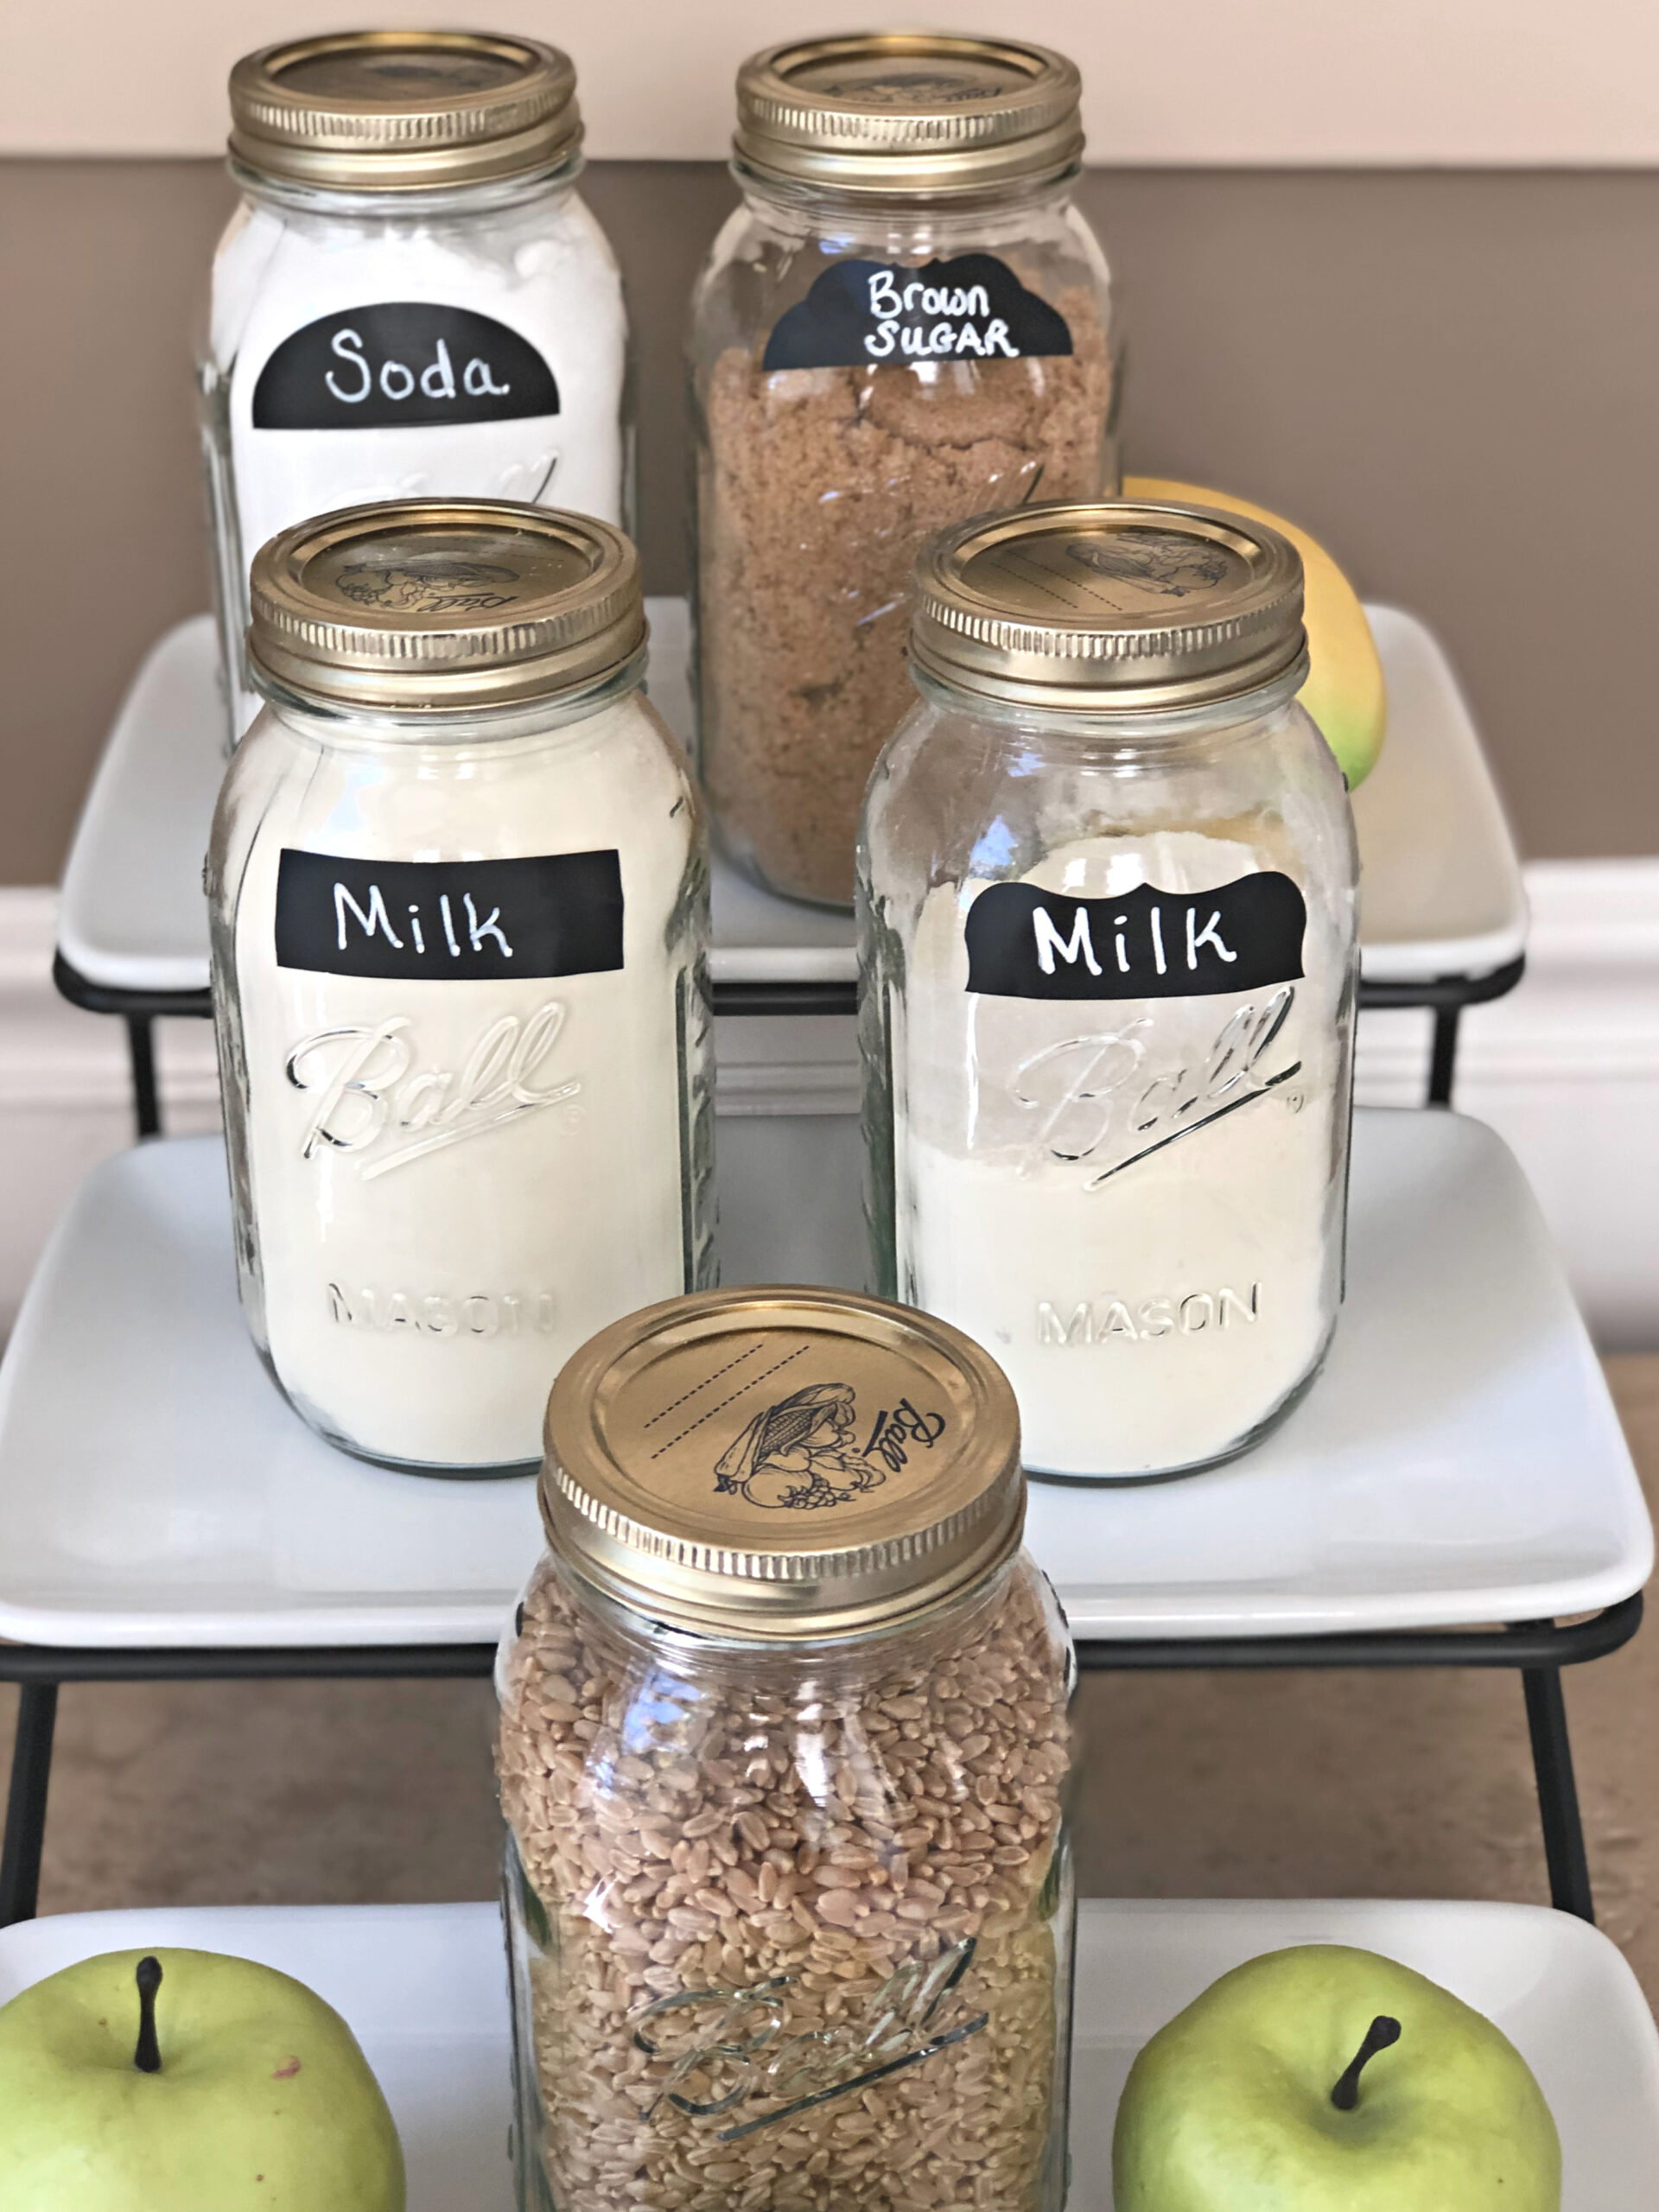
Several of my bread recipes call for “powdered whey,” hence the jars of dry milk. Those are wheat berries in the front. I grind them with my electric wheat grinder to make wheat flour. (That’s the proof that an alien has invaded my body.)
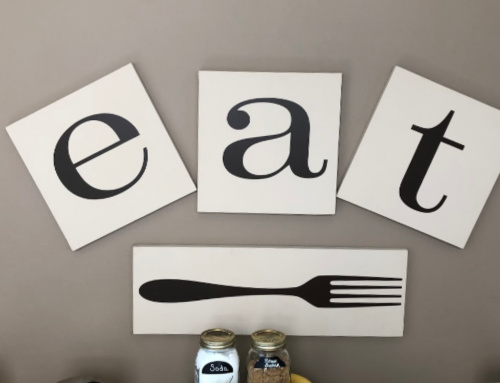
I made this sign several years ago. I was about to donate it to Goodwill, until, as I said, everything came to a screeching halt. I’m glad it’s still hanging. Adds a nice touch to my organized baking supplies, don’t you think?
If you feel inspired to organize your baking supplies, I linked similar items to the ones I used on my Amazon store page. (I’m an Amazon affiliate, so if you purchase via my links, you don’t pay anything extra. It just means that Jeff Bezos gets richer and he pays me 23 cents per item your purchase.)
The end. Now off to bake something.

Pingback: Easy Sea Salt Chocolate Chip Cookies -