Countdown to Christmas Calendar: Part 1 of 5

      Comments Off on Countdown to Christmas Calendar: Part 1 of 5

The first step in creating the “Countdown to Christmas” calendar is to make twenty-four matchboxes.  I made these with the Sizzix matchbox die.  (I also made a template for you to use if you don’t have a Sizzix machine.  Click HERE for the template.) I highly recommend using the die, however, unless you have a ton of time on your hands to copy, cut, score, and assemble twenty-four boxes and lids.  (You can also order the boxes for $1 each by sending an email to [email protected])

To order the matchbox die and any of the other supplies listed below, click HERE.  (Be sure to check out the great items that are on clearance, too!)

Supplies for Matchboxes:

Sizzix Big Shot Die-Cutting Machine (Item #113439)

Sizzix Matchbox Die (Item# 114890)

Four different colors of cardstock (make six matchboxes out of each of the four colors, for a total of twenty-four boxes)

Double-sided adhesive

(Be sure to check back on Tuesday for the template and for Part II)

Cookie Exchange Baggies: Tutorial

      Comments Off on Cookie Exchange Baggies: Tutorial

It may seem a little early to start preparing for your annual Christmas cookie exchange, but it’s not.  Get started now so you won’t be too stressed.  The day will be here before you know it.


Although I use candy, you can easily fill the bags with cookies.  However, I’ve never met a cookie-lover who isn’t also a chocolate-lover, so why not use candy instead?  If you use candy, you can complete the entire project now, thus eliminating all of the last-minute stress.


If you are set on using cookies, just cut all of the paper and ribbon so when your party rolls around, all you’ll need to do is add the cookies and tie the ribbon. 
 

No matter what you decided to share, these bags will definitely make you the hit of the party!

SUPPLIES:

Decorative paper

Paper cutter with scoring blade

Various punches and ribbons

Cello bags

Candy or cookies

Crop-a-Dial

TO MAKE THE BAG:

1)  Depending on what width cello bags you use, you will need to cut the paper 1/2″ wider than the width of the cello bags.  The length is 12″ (no matter what width cello bags you use.)  For example, the cello bags I used are 4″ wide, so I cut my decorative paper 4-1/2″ x 12″

2)  Score the 12″ side at 5″ and 7″ 

3)  Fold the decorative paper along the score lines and punch a decorative hole at the top

4)  Fill the cello bag with candy or cookies

5)  Fold up the decorative paper around the cello bag

6)  Indiscreetly staple the top of the cello bag to the decorative paper (you’ll be covering the staples with ribbon, but the staples help to ensure stability)

7)  Punch a hole on either side of the staples

8)  Adorn with various ribbons

9)  Finish off with a cute tag

Potpourri Pouch Gift Tag: Tutorial

      Comments Off on Potpourri Pouch Gift Tag: Tutorial

You’ll be the hit this holiday season when you top off each gift with this great potpourri gift tag. 

Supplies:

Decorative Paper, Cardstock Scraps

Double-Sided Adhesive

Paper-Piercing Tool

Paper Crimper

Decorative Edge Punch

Paper Cutter with Scoring Blade

Crop-a-Dial

Scallop Circle Punch

1-3/8″ Circle Punch

1-1/4″ Circle Punch

20″ of ribbon

1 – 2 Tablespoons of Potpourri

To Make the Pouch:

1)  cut a piece of decorative cardstock 5-1/4″ x 7-1/2″

2)  score the decorative cardstock at 1/4″ and at 3-3/4″ along the 7-1/2″ side

3)  run the cardstock through the paper crimper

4)  punch a decorative border along one of the 7-1/2″ sides (this punched side will be the opening of the pouch)

5)  place double-sided adhesive along the 1/4″ fold and along one of the 3-3/4″ edges on the side that you didn’t punch

6)  fold and adhere the decorative cardstock to form a pouch

7)  randomly pierce holes through the pouch to allow the potpourri aroma to leak out of the pouch

8)  stamp and attach a cute tag to the front of the pouch

To Make the Top Piece:

1)  cut a piece of contrasting cardstock 1-3/4″ x 7-1/2″

2)  score at 1/4″ and 3-3/4″ along the 7-1/2″ side

3)  punch a decorative border along one of the 7-1/2″ sides

4)  place double-sided adhesive along the 1/4″ fold and along one of the 3-3/4″ edges on the side that you didn’t punch

5)  fold and adhere to make the pouch top piece

6)  place the top piece onto the pouch

To Add the Ribbon

1)  punch two holes with the crop-a-dial, making sure to punch through both the top piece and the pouch

2)  thread the ribbon into one hole and out of the other

3)  make a loop with the ribbon on the back

4)  tie a bow with the ribbon in the front

Mailed and Older

      Comments Off on Mailed and Older

I find it strange somehow that Adrienne’s college apps got mailed on the day that Erica turns fifteen.  Like my frozen shoulder, blinder eyes, and gray hair aren’t enough to remind me that time is passing way too quickly.

Lots to Blog About

      1 Comment on Lots to Blog About

Let me start off by saying that if your children have any plans on attending college, have them start filling out their applications NOW, no matter how old or young they are.  It takes about twenty-seven years to complete the process.  And that’s just their part of it…the financial aid forms that you (the parents) have to fill out are twenty pages.  Once you’re done, you find out that each college wants you to submit even more forms, in addition to the twenty pages you just submitted.  Then you have to submit blood tests and your report card from kindergarten.  (You get the idea.)  Seriously, though, what a long and tedious process it is!  Whew….can’t wait for it to be over so I can have my Agee back again.  She comes home from school, goes to her room, and works, works, works on her applications. 

Erica is turning 15 next Monday.  How did that happen?  It’s already time for her to get her permit?  No way.  I guess it’s only fitting that I have an appointment this Thursday to have my gray roots done, huh? 

I love our simple, uncomplicated life.  I’m grateful that my babies are healthy and happy, that we have a beautiful home, clothes on our backs, and food on the table.  We watched a segment on 60 Minutes last night about how so many people have been unemployed for almost two years. We have always strived to keep things simple and in times like these I’m so thankful for the choices we have made.

I’m now sporting some magnetic eWillow.com signs on my ride.  I realized that I have been missing out on so many advertising opportunities!  I keep telling Neil that I am going to order a set for him so that he can put them on his rental cars whenever he goes out of town.  (That’s a great way to get some national exposure, huh?!)  I mean, why not?  While he’s zipping around from NY to CT to Boston, he can promote eWillow at the same time!  Don’t you all agree?

In only a few short months our lives will be so different.  I feel like I have been swimming underwater and it’s almost time to come up for air.   One down, one almost done.  We did the best we could, set the best examples we could, and used every single moment as a teaching opportunity about choosing the right.  What would I change?  Not much.  Except maybe I would have started filling out the college applications on January 3, 1993.  Then maybe we would finally be finished.

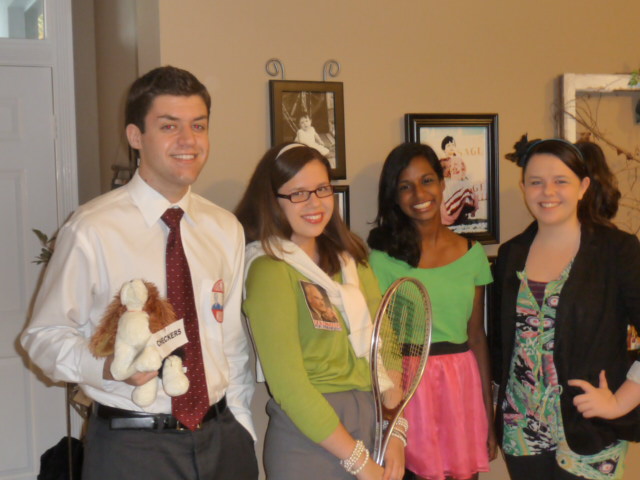
Jared, Adrienne, Sandhiya, Erica
(DSOA Halloween Party)
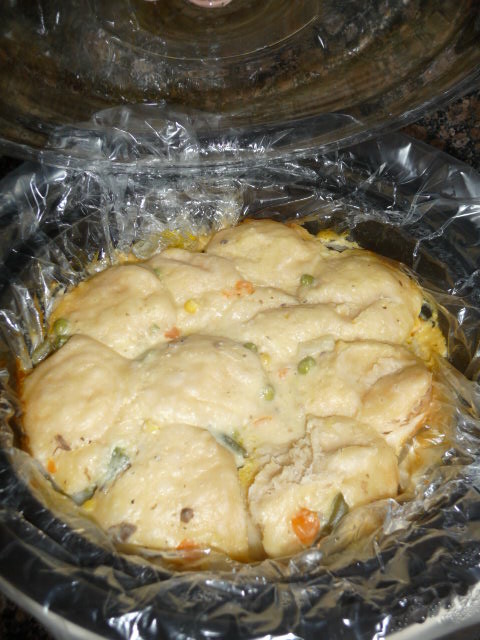
Homemade chicken and dumplings
(Did I tell you that I have cooked dinner from scratch just about every night for almost a month?  Heather, I wish you still lived here.  We would have so much to talk about…recipes, school, kids, reality tv shows…)