St. Patrick’s Day Scrapbook

      Comments Off on St. Patrick’s Day Scrapbook

Okay, I have been beating around the bush because I don’t quite know how to say this.  I am just going to come out with it…I don’t like making things for St. Patrick’s Day!  Just the thought gives me hives!  Nothing at all against the holiday.  It’s just the colors!  It is almost impossible for me to work with that “St. Patrick’s Day” green color.  You know the one I mean?

I am going to try my best, just for you, to overcome my fear (because that’s what it really is) and come up with some cute Pat’s Day things.

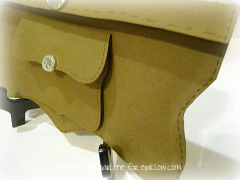
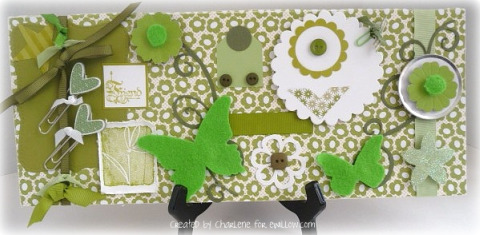
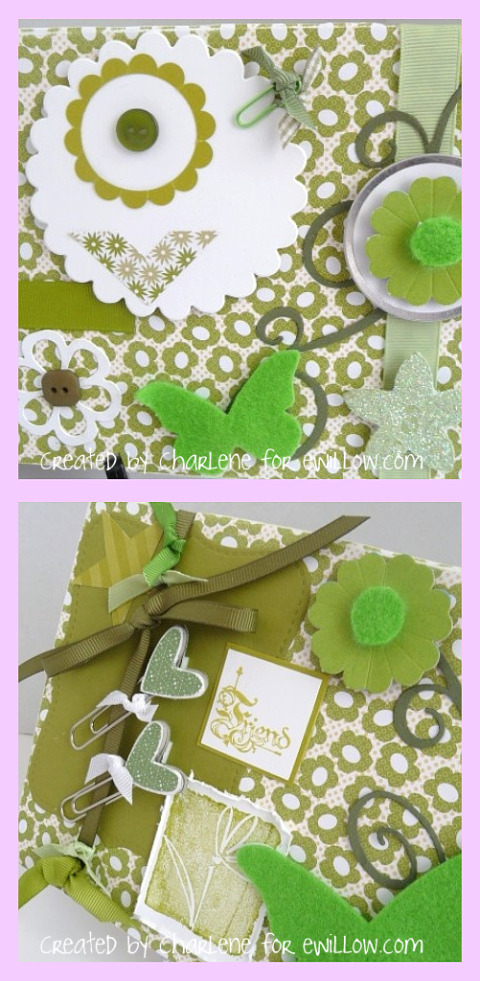
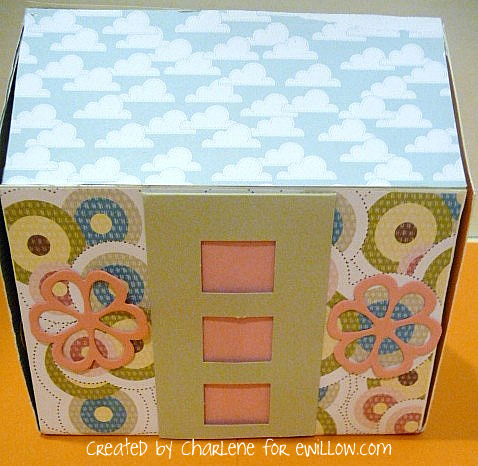
Here is one I thought of, playing off of the “Luck of the Irish” theme of the day…

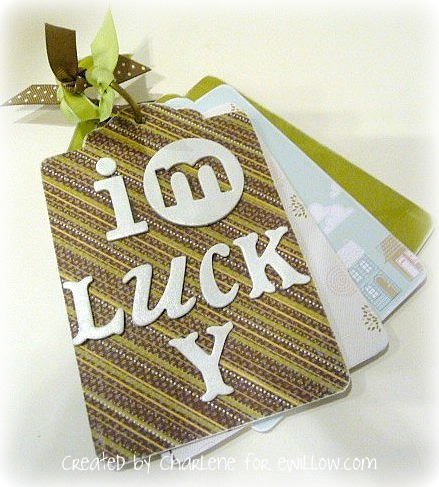
It’s a little tag scrapbook, and it’s meant for you to put some photos and some journaling about the lucky things in your life.

School Project: Paper Wallet

      Comments Off on School Project: Paper Wallet

Erica (8th grade) had to do a project for her French class where she had to teach a lesson to the students while speaking French.  She taught her lesson on the Euro.  She printed out fake Euro bills and coins.  Of course I couldn’t allow her to just carry in some paper money and talk about it, right?!  I had to make her a wallet to hold the loot…

Remember THIS gift card holder?

Well, I used it as my inspiration to draw a freehand larger wallet.  I attached the smaller gift card holder to the front as the change purse, and used the larger wallet for the bills.

I faux-stitched around the entire outside in the same color marker as the cardstock.

Take a closer look at the cardstock.  Can you tell that it looks like suede?  All I did was sand the cardstock to achieve the faux-suede look.

Pretty fun, huh?

Well, guess what?  Here is the pattern for you!  (walletthree.pdf)

Use Your Green Scraps to Make Home Decor for the Month of March

      Comments Off on Use Your Green Scraps to Make Home Decor for the Month of March

I put all of my green scraps to good use and made this home decoration to display during the month of March.  St. Patrick’s Day is a difficult one for me to create for.  I think it might be because green is a really difficult color for me to work with.

Get ready to see several more things made with scraps.  I am really, really, REALLY loving this type of creating.

Time to Throw in the Towel

Erica and I went to the mall today.  I hate going to the mall.  (I know, I am as shocked as you are.)  There is something in the air there that gives me a terrible headache.  I call it my “mall headache.”  I get the same feeling every time I go.  Along with the headaches, I experience a very noticeable shortness-of-breath followed by extreme fatigue. (It is a different type of shortness-of-breath than I experience when I find something really cool on clearance at Target.)  It is so annoying that if I even think about the mall I start to feel the “mall headache/shortness-of-breath” coming on.

It must be something in the air.  I know that Abercrombie and Fitch pipes their fragrance into the mall right outside their store.  That might have something to do with it.

Before I give up on the mall all-together, I think I am just going to do a “go to one store” type of thing.  Like today for example, all we really needed to do was go to American Eagle.  Next time that is all I am going to do.

Better yet, Neil’s new office is located in one of the buildings at the PGA entrance to the mall.  I’ll just send him. 

Do any of you experience the “mall headache?”  I am not being sarcastic…it really is a physical thing that happens to me every time, and once I get home, it takes a few hours to recover.

Make a Paper Dollhouse: Template & Tutorial

      Comments Off on Make a Paper Dollhouse: Template & Tutorial

Download the PDF template (dollhouse.pdf)

I absolutely love dolls and dollhouses.  I was so excited to find a tutorial on THIS BLOG that showed how to make a small fabric dollhouse.  I adapted the pattern to make it work for a house made out of paper.  I am pretty happy with the results!  I’m not finished yet…now I have to make the people and the furniture.  Oh, what fun!

Supplies:

Light-weight cardboard (I used the cardboard that comes with Designer Series Paper)

Mod Podge

Decorative Paper

Paper cutter with a scoring blade

Embellishments

Sticky-back magnets

First, cut and score the light-weight cardboard and lay out the pieces like this:

Here are the pieces with the measurements marked.  (Don’t panic!  Just print the template and trace.)

Second, use Mod Podge to attach the pieces together like shown.  Make sure all of the scored edges end up on the inside of the house.

(ignore the decorative paper that you see.  this house was an experiment)

Third, is the fun part!  Cover the inside and outside of the house with decorative paper.

Fourth, attach two sticky-back magnets, as shown above.